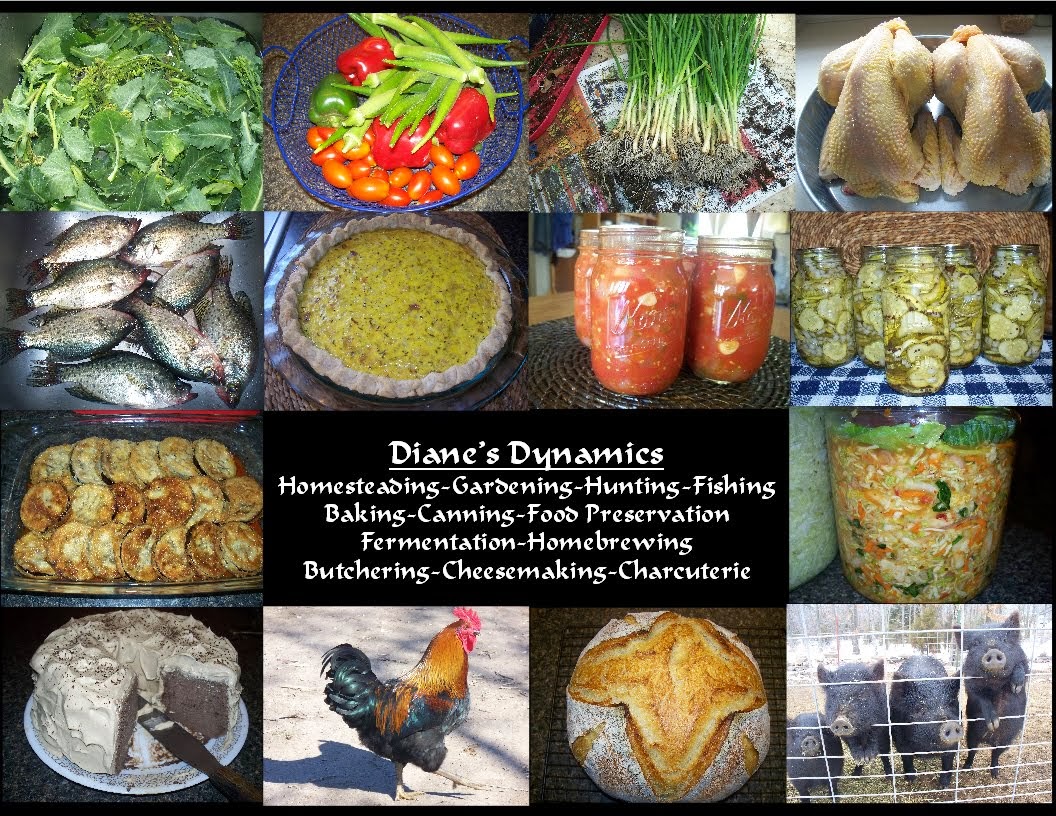
 |
| Our Thanksgiving Ham |
This is my favorite time of year for raising pork because we
raise American Guinea Hogs for a subsistence, homesteading lifestyle rather
than for profit – meaning we do not have a lot of expensive equipment or a cold
room, therefore like with most homesteading enterprises, there are seasons for
everything we do for specific reasons. For instance, my previous blog post
focused on butchering shoats (young culls) during the summer months so that we
do not have to feed out or castrate less-than-stellar stock. I get rid of ALL
my unwanted boars by the age of 3-4 months. Occasionally I will register and/or
sell one, but I have learned the hard way that only the very best stock should
be registered (or sold unregistered) for breeding, and that it comes back to
bite me (and other breeders) in the butt when we sell poorly-bred stock for any
reason, even as a stop-loss economic scenario. Eat them, feed them to your
dogs, share the meat with your neighbors, but do NOT sell an animal capable of
breeding that you would not breed yourself. Oftentimes people with the best of
intentions but little homesteading/butchering experience want to buy feeders to
eat, but then they find themselves in over their heads with pregnant gilts or
too many uncastrated boars which they then have to unload themselves for their
own stop-loss economic situation. This is one of the reasons people expect
heritage pork to be cheap – because around here, you can buy someone else’s $500
mistake at an auction for $25. I’ve even seen full-grown (300#+ AGHs!) for free
on Facebook groups and Craigslist. Guess how I learned the hard way about
this?!
Now, let us talk a minute about “Charcuterie.” It is the
current fad amongst dedicated foodies who want the very best heritage meats and
those who work in the food industry, but it is nothing more (and yet everything
great!) about preserving meat safely, long-term, without refrigeration. It also
includes some things that do need cool or cold storage, like fresh sausage, terrines, pates. And if you
are not a chef, this word can be a little scary because it can become quite
complicated – though like everything else worth doing (bread-building,
cheesemaking, etc.), you start with a simple foundation and continue building
on that. Fresh bulk sausage is one of the easiest and at the end of this post,
I will share my simplest, most versatile spice mix for breakfast sausage to be
made in 5# batches. But this post is for the holidays, so let us talk about… HAM.
This is the American-style ham most of us are familiar with that has been
lightly smoked and fully-cooked, but needs to be glazed and fully-reheated for
serving. You will find that your own looks and tastes nothing like those nasty,
wet, particle-board-textured abominations that are passed off as “hams” at the
grocery.
Because I have already butchered my shoats in the 50-75#
range over the summer, next up for the fall and winter are those few larger
gilts, barrows and cull sows I saved for fast growth, large size and age. I
have started butchering them by size for the fall, starting with the smallest,
so that by the time truly cold weather sets in, I can turn the very best of the
best into slow-cured hams (like Proscuitto/Country Ham), which are often cured
for at least a year, sometimes longer. But for this post, and just in time for
Christmas and New Years, let us start out by butchering a cull hog (young gilt
or barrow) in the 120-150# range and we will end up with a couple of
incredible-flavored, boneless, 7# fresh hams to be cured and smoked for the
holidays. You will need about 2-3 weeks from start to finish for a hog this size,
so get started now.
Sorry to keep repeating this, but for me, SCALD AND SCRAPE
is the ONLY option when dealing with a hog you have taken this much
time, love and pride in raising. I personally believe that skinning is a last
resort and something to be done only when you are far afield from civilization,
or maybe you are just planning on grinding the entire carcass because you have
too many pigs or you had to unexpectedly turn a breeder into pork due to injury
or accidental death. Professionally, hogs have ALWAYS been scalded and scraped, then hung and rested for a couple of days before proceeding with butchery. You end up with a carcass that is free of stray hairs, where the
fat cap is smooth and beautiful and if you still remove the skin and some fat for
cracklings/lard from primals/subprimals, you can do it at a much more leisurely
pace and with at least a little artistic finesse rather than it looking a
beaver helped you peel hard-boiled eggs! Seriously. Watch some youtube videos
with the old-timers in Kentucky/Virginia or the Amish who still have family/community
hog butchering parties – sometimes the hogs are too large to dip in 160-degree
water, so they cover them with burlap or old towels before dribbling scalding
water on them and scraping. This post is specifically about smaller breeds of
hogs though, so there’s rarely any excuse. Even torching them with a
flamethrower is preferable to skinning (for me), though it is tricky because
you don’t always get the hair follicle out of the skin. Blowtorch the hooves
until the cuticle pops off and brine/smoke those trotters, hocks and shanks as well
so you have seasonings for your winter bean soups. Or for pickled pigs feet.
If you have a cold room, you can leave the whole hog hanging
for a couple days to allow rigor to relax before butchering. I do not have a
place cold enough except maybe during a severe winter storm, so I split mine
then pack them in a marine chest full of ice. (They will actually keep safely
for longer than a few days as long as you keep the old water drained off and
keep them packed in fresh ice, though likely someone will dispute me on this.) Of
late, I’ve been splitting the whole hogs before removing the head so that it’s
easier to harvest the tongue, remove the brain, etc., but you may want to save
the skull. Whichever. So you will end up with something like this:
 |
| 120# Gilt |
I always remove the kidney, leaf lard, tenderloin, and whole loin before doing any other processing. To remove the back leg, simply cut along the seam where the belly meets the leg. (Try to keep the belly cut square with this breed, or you won't have any belly left!) If you have not already removed the rump/sirloin, saw thru the vertebrate to finish this cut. Remove the trotter (foot) from the hock/shank end by finding the bend in the joint. (It is not important that this cut be perfect – you are going to remove all the bones and trim the overhang anyway. AGHs of this size have very little in the way of hocks/shanks to begin with) This is what you should end up with. (I know, not very appetizing, but just wait!)

Here is a basic diagram of all the piggy parts should you
need to know, but don’t get all bothered about perfection. That takes practice
and all your mistakes end up in the sausage bin or stock pot.

Now, if you ended up with a beautiful scald and scrape job
(no hair follicles), you can either leave the skin on, or choose to carefully
remove it. I had to remove the skin on this one. Leave as much of the fat as
you can but you may have to trim if the hog is obese. There will be a point
right in the center where you will cut thru into the meat if you don’t do this
carefully, which I did on one of the hams. It would have looked horrible had I
skinned to begin with. By feeling and looking for the seams between muscles,
remove the aitch bone with a small sharp knife, then continue until you’ve removed
the larger leg bone. I removed the
shank, but left the bone in and brined/smoked them with the hams to season soups
with.


And finally, trim off any overhang and square off the
boneless slab:

They will look like this when rolled. (See where I nicked
thru the fat when skinning on that one.)

Weigh each cut and know that you will need to inject and
brine them for at least half a day per pound. It is okay to brine a little
longer if that suits your time frame. They will also need a day to dry on a rack
in the fridge before smoking. These
weighed about 6.5# each and I let them go almost 2 weeks, so it’s a forgiving
process. It is however, VERY important to inject the brine thoroughly all thru
the muscles or you will end up with a combination of pink ham and gray pork
roast where the brine didn’t penetrate.
Let’s talk just a moment about curing salt. There is way too
much MISINFORMATION out there about nitrites and nitrates. I’ve heard lots of
people say they cannot eat nitrites and yet have no idea what the chemical
process is that converts harmless nitrites into nitrates (of which there is no
real evidence are harmful in small quantities either). For the record, almost
all of the cured products you buy from an average grocery store
(bacon/hams/most deli meats) use NITRITE. Bacon may not be sold in the US
containing NITRATES. Nitrates form thru long fermentation (like with salami,
summer sausage and other specialty meats) from nitrites. Sometimes they are
added to these longer-cured products for safety, but simple charcuterie rarely
uses them. If you want to skip it for this brine, you can, but you will not be
making ham, you’ll just be making a pork roast. It will not have the beautiful
pink color of a ham, nor will it taste the same. Please skip the Tender-Quick
and Sugar Cure available from Morton’s and just order yourself a canister of #1
Curing Salt (Sodium Nitrite, sometimes just called pink salt, but not to be
confused with pink Himalayan sea salt). It takes only a tiny amount and a pound
will last you awhile and you’ll have the versatility of using it for all of
your basic curing. Also, PLEASE weigh out your ingredients, especially for
curing and baking. You will be shocked to see the difference between weight and
volume.
From here on out, I’ll be adapting the recipe (available
from their websites) from Ruhlman/Polcyn’s book “Charcuterie” for:
The Brine (enough for 15# meat)
*1 gallon/4 liters water
*1 ½ cups/350 grams kosher or sea salt
*2 packed cups/360 grams light or dark brown sugar
*1 ½ oz/42 grams/8 teaspoons #1 Curing Salt
*1 gallon/4 liters water
*1 ½ cups/350 grams kosher or sea salt
*2 packed cups/360 grams light or dark brown sugar
*1 ½ oz/42 grams/8 teaspoons #1 Curing Salt
Here’s the fast and easy way to do this: Get a gallon
pitcher and add the dry ingredients. Heat about 2 cups of water in the
microwave to boiling and pour over them. Whisk until dissolved, then add ice and
continue stirring until the solution is cool. Fill the pitcher to the gallon
mark with cold water.
 |
| (Shank/Hock portion lying on top of the ham slabs) |
Using a bulb baster or syringe, inject the meat thoroughly
with this solution, then submerge the meat completely in the solution. You can
weight it down or just turn it twice a day. The day before smoking, rinse, dry and tie the
meat and let it dry on a rack in the fridge or cool place. Here is a nifty little tutorial that shows
you how to tie meat: http://www.junedarville.com/how-to-tie-meat.html
If you have trouble getting it started,
use a few plastic strap ties to hold the meat in place while you tie (remember
they can be joined together to make them long enough). Cut them loose after
tying. And here they are, ready to go on the smoker:

Now here’s where I deviate from the recipe a little. The
recipe suggests that they be hot smoked (200 degrees) for 2 hours, then glazed
and smoked to an internal temp of 155 degrees. As we have primarily only oak
and hickory to use for smoking, that leaves a really strong smoke flavor that
may be a little more than most people are used to. It also blackens the glaze,
which I don’t find terribly attractive. So with this size hams, I smoked them
at 200 degrees for about 4 hours, then glazed them and transferred them to the
oven (uncovered) and brought them to the internal temp of 155. Let the hams
cool completely. At this point, if you want to vacuum seal them or freeze them
or just wrap them and keep them cool for a couple of days, you’re done with the
hard part. If you want to serve the ham whole and hot, reheat it in a 275
degree oven until it’s warm in the center (no safety concerns here, it’s fully
cooked). I prefer to run the whole ham thru the deli slicer and serve it with
the glaze as a sauce on the side. This ham has so much flavor, a big, thick
slice is really overkill – thin slices will likely be more appreciated by
grandpa’s dentures and young children than thick steaks. And you’ve got all
that deli meat ready for sandwiches if there’s any left!
Glaze/Sauce Recipe:
*3 cups brown sugar
*1 (12oz) jar brown mustard (or whatever mustard you like)
*A jar of your favorite jam or chutney – I used wild plum (also a good way to use up whatever jams/jellies are leftover in the fridge)
*3 cups brown sugar
*1 (12oz) jar brown mustard (or whatever mustard you like)
*A jar of your favorite jam or chutney – I used wild plum (also a good way to use up whatever jams/jellies are leftover in the fridge)

By the way, here was my first attempt at hams last year.
These were bone-in, skin on and there was a good layer of fat cap. They were
still rolled and tied and used the same method. Remove the skin and some of the fat before the
final glaze and reheat.

And as promised, my favorite recipe for a simple but
flavorful spice mix for breakfast sausage – mild enough no one has complained
about it, flavorful enough to pack a punch. I have found this to be excellent
on both pork and red meats. Mix up a jar of it in the spice grinder and it
would make a nice holiday or house-warming gift for someone who orders those
expensive packets of seasoning mix for their venison sausage. I have weighed
one batch of this and found it to weigh about 45 grams, which comes out to a
scant 2 teaspoons (9 grams) per pound of meat.
For 5# of sausage:
1 teaspoon black or white peppercorns, whole
1 tablespoon whole coriander seeds
2-3 dried bay leaves
1 tablespoon rubbed sage
1 teaspoon each dried whole thyme, marjoram, pepper flakes
½ teaspoon garlic powder
2 teaspoons salt
1 tablespoon whole coriander seeds
2-3 dried bay leaves
1 tablespoon rubbed sage
1 teaspoon each dried whole thyme, marjoram, pepper flakes
½ teaspoon garlic powder
2 teaspoons salt
Now. Go make some bacon!!!


