 |
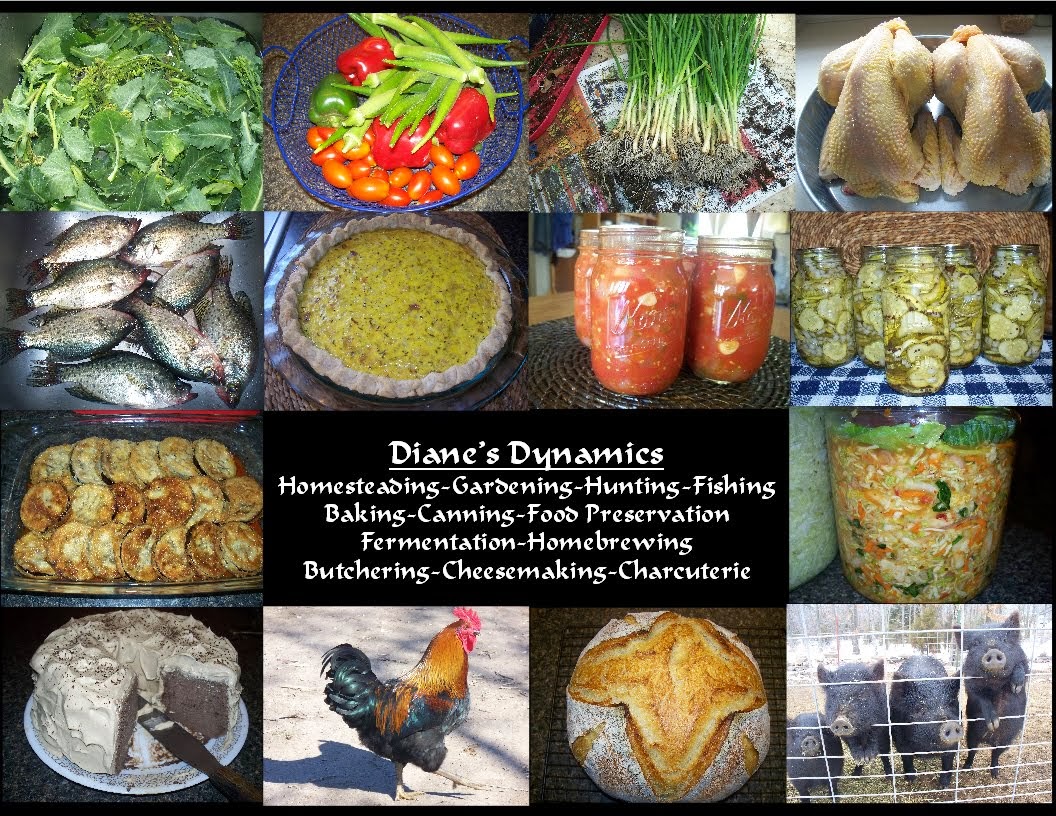
| Muffins risen and ready to cook |
Do you know the muffin man,
The muffin man, the muffin man,
Do you know the muffin man,
Who lives in Drury Lane?
The muffin man, the muffin man,
Do you know the muffin man,
Who lives in Drury Lane?
According to wikipedia (and they never lie, right!), in the Victorian era, muffins were delivered door-to-door by “the muffin man,” which gave rise to the old nursery rhyme. What we call muffins in America
There are 2 ways to prepare these delectable, chewy-but-tender little yeast breads, though both are baked on griddles. The first, which uses a thick batter rather than a dough, are what the people in the U.K.
The other method of preparation is to start with a basic yeast dough which is rolled out and cut into rounds. These are allowed to rise like regular bread, then they’re steam-baked on a hot griddle just like the crumpets. I haven’t yet purchased any molds so this is the method I’ve been using. Some people recommend turning tuna or pineapple cans into molds, but most cans available in the U.S.
I started making these just a couple weeks ago and I’m addicted! They came about quite accidentally as I’m just learning the intricacies of working with sourdoughs and it pains me to waste anything. I’m using Nancy Silverton’s (of the La Brea bakery) sourdough starter recipe and the little monster is more demanding than a small child! You’re supposed to feed it 3 times a day, which is just ridiculous unless you’re a professional bread baker or have reason to bake every day. You have no choice but to either use or throw out the excess starter, so I started using it as soon as it was capable of leavening (which was a good week before Silverton recommends using it for artisan breads). It doesn’t matter what kind of sourdough starter you use for this recipe – as long as it’s capable of rising bread dough, it will be fine.
Since we don’t have central heat in our house, it’s often taken as long as 48 hours to make these in my cold kitchen, but as the spring weather has had our house up in the 70’s this week, it’s only been taking about 24 hours. Either way, working with sourdough takes some planning. If you don’t want to mess with the sourdough, find a recipe that uses commercial yeast, but by all means, MAKE THEM! They’re delicious.
For those of you who gain 5 pounds if you hear the word “fat,” these are for you. Schmear them with fat-free cream cheese and no-sugar-added jam and you’ll only have to worry about tipping the glycemic scale. Even still, if you roll them out to only ½” thick before cutting, they make for an excellent low-carb sandwich bread and they’re easy to split and toast. They are tender but chewy with the most wonderful crackly crust when you bite into them. They make for a wonderful burger.
As for cutting them out, I use a “Riga Sprat” can, which is a full 4 inches in diameter. A wide-mouth canning lid is 3 ½ inches and also makes a nice cutter. You can even cut them into squares or triangles with a knife to get them the size you want. (I saw some star-shaped bagels on “Knead for Bread” so by all means, use your imagination!)
Only drawback I’ve found is that they must be made in an electric skillet or in a covered pan on a burner with a temperature control. I absolutely ABHOR teflon and I’ve phased it out of my kitchen except for the idiot-proof omelet pan (which I also don’t use often – a well-seasoned cast-iron pan works just fine for eggs). I tried making the muffins on both steel and cast-iron griddles on the stovetop, but they cook too fast. I think these are worth dragging out the electric skillet for though. J
Sponge: (mix 12-24 hours before cooking)
1 cup sourdough starter
1 cup warm water
2 cups unbleached all-purpose flour
Dough (add to sponge 12-18 hours later):
¼ cup fat-free powdered milk
½ teaspoon baking soda
1 ½ teaspoons salt
2 teaspoons sugar
3 cups flour (approximately)
Knead the dough until smooth and elastic (7-8 minutes), adding the last ½ cup of flour only if needed. (You’ll need the flour, and possibly a bit more, if using an electric mixer.) Sourdough is stickier than regular dough – don’t use too much flour. Cover the dough and let it rest about 20 minutes. (You can also rise and punch down the dough once or twice like regular bread if this fits into your schedule better – the final rise after cutting out the muffins won’t take nearly as long if you do.) Roll the dough out ½ inch up to ¾ inch thick and cut out with the cutter of your choice.
After cutting them out, you’ll need to dip them in cornmeal and coat both sides. To get the cornmeal to stick, either:
1) spritz both sides of the muffin with a water bottle
2) brush (or dip) both sides of the muffin with/into milk
3) brush both sides of the muffin with oil, butter or fat
Lay the muffins on a greased cookie sheet and keep them covered, free from drafts, until they’ve almost doubled in bulk. This may take from several hours to only 30 minutes depending on the strength of the yeast and the ambient temperature. Keep in mind that if they rise too fast, the last batch you cook may not be as perfect as the first batch as they will start deflating on the cookie sheet. (Don’t worry, the baking soda will spring them up again during cooking.)
Preheat an electric skillet to 300 degrees and flip the muffins top-side down onto the skillet. Cook 3-4 muffins at a time, COVERED, for 8-10 minutes per side. Each side will be light golden brown when done. Transfer to a bowl lined with a towel and keep covered while cooking each batch. Serve immediately or let cool completely before bagging. Makes 8-10 depending on how thick you cut them.
No comments:
Post a Comment